The Practical Guide to Optimizing Grow Light Efficiency & Performance
For every indoor grower, light is undoubtedly the core element that drives life. It is not merely a tool to illuminate crops but actively participates in photosynthesis, regulates plant growth rhythms, and ultimately determines yield and quality. Many growers invest significant capital in equipment, only to find the results disappointing—plants may become leggy, produce sparse flowers and fruits, or suffer from high energy costs. Often, the key issue isn’t the light itself, but whether we truly understand and optimize the light environment.
The purpose of this guide is to take you beyond simple “on/off” switching and delve into understanding how to formulate the most effective lighting plan for your plants. This unlocks higher growth efficiency, better fruits and quality, and a noticeable drop in your electricity bill. Let’s start by understanding light and illuminate your path to efficient growing.
Step 1: Understanding the Core Advantages – Why Modern Growing Prefers LED
In indoor growing, traditional fluorescent or High-Pressure Sodium (HPS) lights are being rapidly replaced by LED technology. This isn’t just a trend; it’s a fundamental shift driven by the revolutionary improvements in energy efficiency, lifespan, and control precision of LEDs. Understanding these core advantages is the foundation for all smart decisions.
Energy Savings & Cost Reduction:Visible Changes on Your Electricity Bill
When you replace a traditional HPS light with an equivalent-performance LED light, the most immediate feedback might be next month’s utility bill. LED energy savings are tangible, as they convert electricity into plant-usable light far more efficiently than traditional sources. Data and case studies from numerous professional growing sites show LED systems typically save 40% to 60% on power consumption.
The math is straightforward:
-
For a medium-sized grow space, the savings on electricity costs over the long run are substantial. Many commercial growers view LEDs as an “investment” rather than an “expense” because the higher initial cost is offset by continuously lower electricity bills within a year or two, eventually generating net savings.
-
For home growers, this means you can confidently extend supplemental lighting periods without excessive worry about electricity costs, allowing you to pursue optimal plant health without reservations.
Longevity & Peace of Mind: Say Goodbye to Frequent Bulb Replacements
Beyond energy savings, another celebrated advantage of LEDs is their exceptionally long lifespan. A quality LED grow light can easily achieve a lifespan of 50,000 hours or more. This means if you run it 18 hours daily, it can operate continuously for over 7 years.
Let’s compare:
-
Traditional HPS or fluorescent tubes typically last 10,000 to 20,000 hours. This means during an LED’s “lifetime,” you might need to replace traditional bulbs 3 to 5 times. Frequent replacements not only incur extra bulb costs but, more importantly, cause interruptions in your grow cycle and require maintenance labor.
-
The long-term reliability of LEDs ensures stable, continuous grow cycles, making them ideal for cultivating fruits, vegetables, or flowers that require precise growth rhythm control.
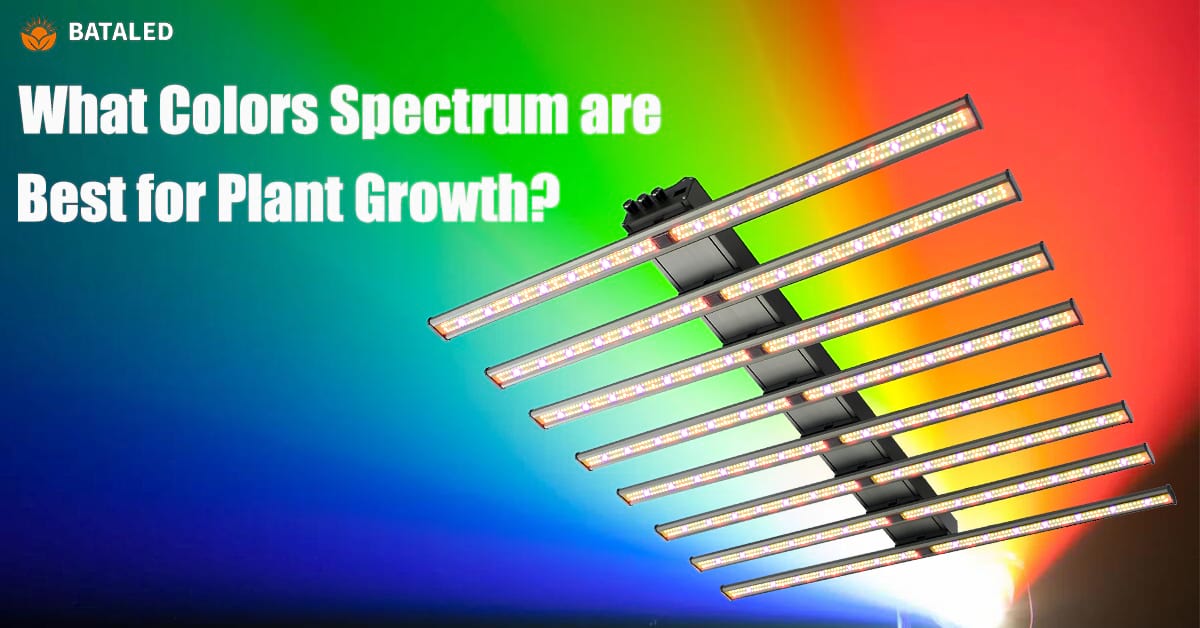
Precise Spectrum: Customizing the Essential “Light Diet” for Plants
Light is plant “food,” and different light colors (spectrum) are like different nutrients in that food. The most revolutionary aspect of LED technology is its ability to deliver the precise spectrum plants need most.
The Core Recipe:
-
Plants primarily need blue and red light for photosynthesis. Blue light (wavelength ~400-500 nm) acts like a “growth hormone,” promoting robust leaf and stem development for compact, sturdy plants.
-
Red light (wavelength ~600-700 nm) acts like a “flowering signal,” effectively stimulating bud formation and fruit development.
Flexible Matching: Based on this, two main strategies exist in the market.
-
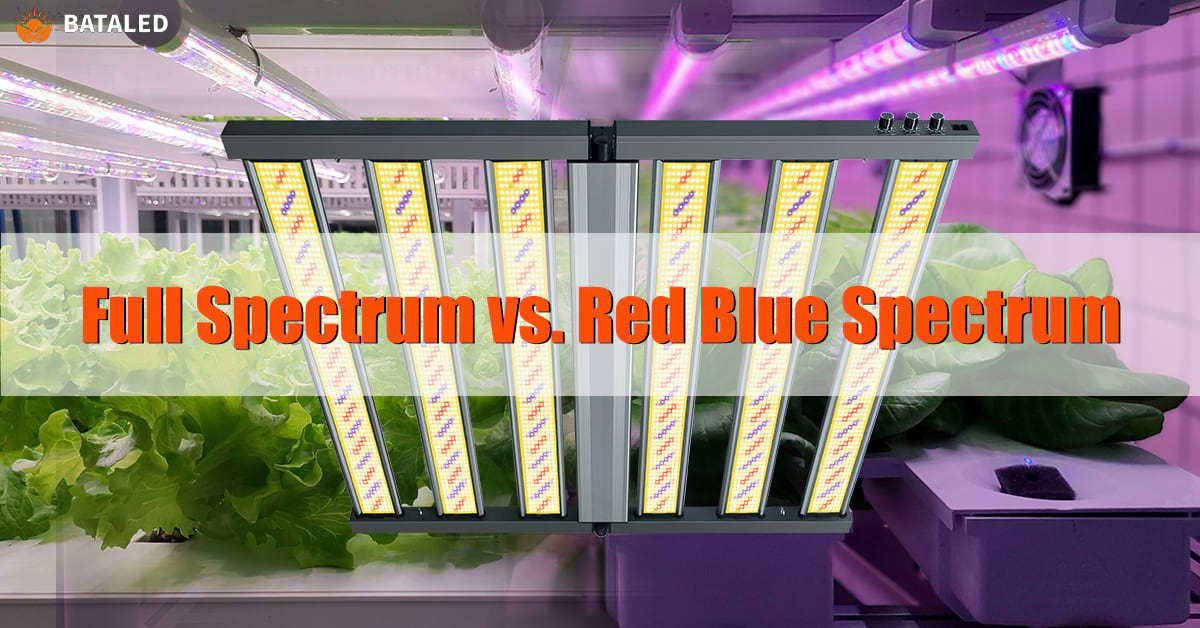
Full Spectrum: This uses full-spectrum LEDs that mimic natural sunlight, containing a continuous band from blue to red light, and even include some green and far-red light beneficial for plant morphology. It’s suitable for the entire cycle from seedling to harvest, especially for growing multiple crop types simultaneously.
-
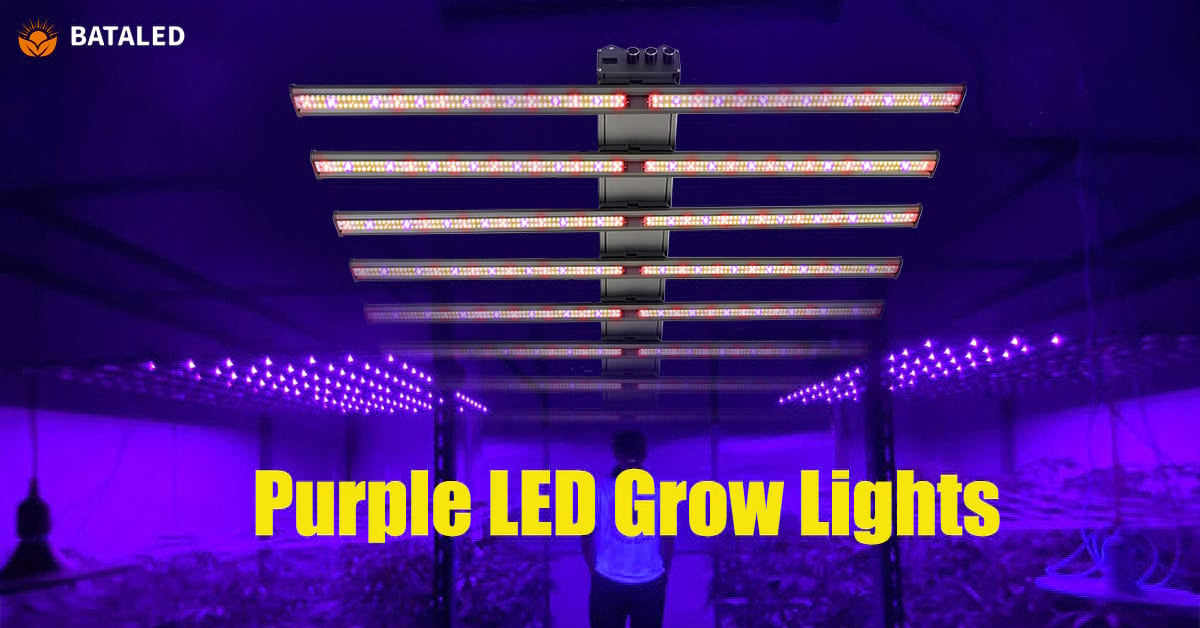
Targeted Spectrum: This uses red/blue combination LEDs, concentrating energy on the most photosynthetically efficient bands. They offer higher energy efficiency for specific growth stages (e.g., vegetative growth or flowering only), like a custom “nutritional meal” for a specific goal.
Low Heat & Safety: Bring Plants Closer, Utilize Space More Efficiently
Traditional lights generate substantial waste heat while operating, like placing a small heater above plants, requiring sufficient distance to prevent scorching and powerful exhaust systems for cooling. LEDs are entirely different, converting most electrical energy into light rather than excessive heat.
This low-heat characteristic offers two major benefits:
-
First, you can hang LED lights closer to the plant canopy (within reasonable limits). This means less light energy dissipates in the air and more is captured by leaves, improving light utilization efficiency.
-
Second, it revolutionizes grow space design. Low heat makes vertical, multi-layer growing feasible. You can set up multi-tiered grow racks in limited space, with each layer receiving ample, safe light, multiplying space utilization. This is perfect for homes, basements, or commercial vertical farms.
Step 2: Making an Informed Choice – How to Select the Right LED Light for You
Understanding the universal advantages of LEDs is one thing, but how do you choose the right one from the plethora of products? The key is to start from your actual needs and learn to interpret key product specifications.
Start with Your Needs: What Do Your Plants and Space Require?
Before browsing products, ask yourself three questions:
- What am I mainly growing?
- How large is my grow space?
- What is my budget?
-
Plant Type: Different plants have vastly different light needs. Leafy greens like lettuce and spinach are relatively “shade-tolerant” and require lower light intensity. Fruiting crops like tomatoes, peppers, and strawberries are “sun lovers,” needing stronger light for good yields. Choose a product with sufficient light intensity (often measured by wattage or PPFD) for your crop.
-
Growth Stage: The same plant has different needs at different stages. Seedlings need gentle light to prevent stretching; the vegetative stage needs a blue-rich spectrum for “shaping”; the flowering/fruiting stage needs a red-heavy spectrum to “promote blooms and fruits.” Consider if the light has spectrum adjustability or if you plan to use different lights for different stages.
-
Space Dimensions: Measure your grow area (length x width) and available height. Product descriptions specify their effective coverage area. Ensure your chosen light evenly covers the entire area to avoid weak light at the edges.
Understanding Key Metrics: It’s Not Just About Watts
Many beginners focus only on “how many watts,” but this is as one-sided as buying a car based only on engine size. For grow lights, light “quality” and “efficiency” are more important than sheer “quantity.”
-
Move Beyond “Wattage Theory”: Watts (W) primarily indicate power draw, not exactly the amount of light plants receive. Pay more attention to light efficacy (e.g., micromoles per watt) and the spectrum chart. A clear spectrum chart visually shows if the light emits strong peaks in the red and blue wavelengths that plants need.
-
Understand “PPFD” & “DLI”: These are advanced but crucial concepts. PPFD (Photosynthetic Photon Flux Density) is the instantaneous intensity of light reaching the plant leaf surface. DLI (Daily Light Integral) is the total amount of light energy a plant receives per day. Quality products provide PPFD distribution maps at different hanging heights. Simply put, leafy greens may need a DLI of 12-17; fruiting crops often require 20-30 or more, achieved through sufficient PPFD and photoperiod.
Choosing Light Types: All-in-One Solution or Specialized Boost?
Depending on your growing style and experience, you can choose different technical types.
-
Full-Spectrum LED: The most mainstream and versatile choice. It provides broad, continuous light, mimicking the sun as closely as possible. Suitable for most plants and full growth cycles, it’s user-friendly and ideal for beginners and mixed-crop growers.
-
Red/Blue LED: Appears as a purple-pink light. It focuses on core photosynthetic bands, offering theoretically maximum efficiency for specific stages. Note: Lack of other spectra might affect certain plant physiologies, and the monochromatic purple-pink light makes it harder to visually assess plant health.
-
COB (Chip-on-Board) LED: This technology integrates multiple LED chips into a single module. Its advantage is providing a very intense, penetrating “spotlight” beam, ideal for delivering high-intensity light to single plants or small clusters, often used for professional supplemental lighting or maximizing light intensity.
Step 3: Implementing Scientific Setup – Best Practices for Installation & Adjustment
Good tools require correct usage. How you install and initially set up your LED grow light is the first critical step to unlocking its full potential.
The Golden Rule for Hanging Height: Dynamic Adjustment is Key
How high should the light be? This isn’t a fixed number but a dynamic process following plant growth. A general starting range is 12 to 36 inches (30 to 90 cm) above the plant canopy.
-
Seedling Stage: Seedlings are delicate. Position the light higher (e.g., 28-36 inches) to provide gentle, even light, preventing dehydration or burning, and avoiding stretch caused by phototropism.
-
Vegetative Stage: As plants become sturdy, gradually lower the light (e.g., 18-28 inches) to increase intensity and stimulate lush foliage growth. Closely watch the top leaves. If they curl upward or show yellowing, it might signal light stress—raise the light slightly.
-
Flowering/Fruiting Stage: This stage often requires the highest light intensity. Carefully adjust the light to the lower end of the range (e.g., 6-10 inches) and monitor leaf tips closely.
Strong Recommendation: Invest in an adjustable height pulley system. This small investment allows easy, precise height adjustments later without struggling to re-tie ropes or hooks.
Achieving Even Coverage: Eliminate “Lopsided” Plants
Uneven light causes uneven growth. To ensure every leaf gets sufficient light, use these techniques:
-
Utilize Reflection: Use white paint or attach reflective Mylar film to the walls and floor of your grow area. They reflect sideways and downward stray light back onto plants, significantly improving overall light use efficiency, especially for lower and middle leaves.
-
Physical Adjustment: For fixed lights, get into the habit of regularly rotating your pots (e.g., a quarter turn every few days). This allows all sides of the plant to receive the strongest direct light periodically, promoting symmetrical, full growth. If the light allows, slightly adjusting its tilt angle can also help the light beam better cover edge areas.
Setting the Photoperiod: Simulate Sunrise/Sunset with a Timer
Plants have an internal biological clock. They sense day/night length (photoperiod) to decide when to switch from growth to flowering.
-
Basic Setup: A mechanical or smart timer outlet is essential for indoor growing. For most vegetables and flowers, during the vegetative stage, a long-day cycle of “18 hours on, 6 hours off” is common to accelerate growth. When entering the flowering/fruiting stage, switch to a “12 hours on, 12 hours off” cycle to induce flowering signals.
-
Understand Plant Types: Knowing if your plant is “short-day,” “long-day,” or “day-neutral” is helpful. For example, strawberries require short days to induce flowering, while spinach bolts (flowers) under long days. By controlling light duration, you can even “program” flowering time for staggered harvests or holiday blooms.
Step 4: Implementing Synergistic Management – Perfect Harmony Between Light and Environmental Factors
The light environment doesn’t exist in isolation. It forms a micro-ecosystem with temperature, humidity, air, and nutrients. Optimizing light must be synergistically managed with other factors for a “1+1>2” effect.
Temperature & Humidity Balance: Creating a Comfortable Environment for Plants
Although LEDs run cool, the overall temperature and humidity of the grow space still need careful management. A suitable environment allows plants to utilize light energy optimally.
-
Temperature Management: The ideal daytime temperature range for most crops is 70°F to 85°F (21°C to 29°C), slightly cooler at night. LEDs’ low heat makes temperature control easier, but you still need a small hygrometer/thermometer to monitor. Good air circulation, via oscillating fans or exhaust systems, helps maintain even temperatures and prevent hot spots.
-
Humidity Control: Humidity management is stage-dependent. During the vegetative stage, higher relative humidity (40%-70%) helps plants expand leaves quickly. But during flowering/fruiting, humidity must be lowered to 40%-50% with good airflow. This is one of the most critical measures to prevent mold, powdery mildew, and bud rot, as overly humid environments foster disease.
Air & Nutrients: The Art of Circulation and Supply
Moving air and balanced nutrition are the other two key carriers that transform light energy into biomass.
-
Air Circulation: Place 1-2 oscillating fans in your grow space to create a gentle, constant breeze. This not only helps regulate temperature and humidity but, more importantly, “exercises” plant stems, making them thicker and stronger. Simultaneously, moving air prevents fungal spores from settling on leaf surfaces, preventing disease. Ensure airflow reaches the middle and lower canopy.
-
Nutrient Supply: Whether you use soil or hydroponics, nutrient management must match light intensity. The stronger the light, the more vigorous the photosynthesis, and the greater the nutrient demand. Remember the principle of “feeding little and often.” Over-fertilization can cause “nutrient burn” or salt buildup. For hydroponics, regularly checking and adjusting the nutrient solution’s pH level (maintain between 5.5 and 6.5) is crucial. Outside this range, plants cannot absorb nutrients effectively, rendering even the best light useless.
Data-Driven Records: From Guesswork to Science
The leap from beginner to expert often starts with keeping records.
-
Start a Grow Journal: Keep it simple—a notebook or phone memo app. Record: light model, hanging height, daily on/off times, environmental temperature/humidity readings, feeding dates and amounts, and any observed plant changes (e.g., new leaf growth speed, leaf color, stem thickness).
-
Form an Optimization Loop: After completing a grow cycle, review these records. Compare which settings yielded the best growth and which caused issues. This data becomes your most valuable experience, making your next grow not a matter of “trial and error” but precise, data-informed optimization, significantly increasing your success rate.
Step 5: Ensuring Long-Term Performance – Maintenance, Troubleshooting & Future Outlook
Simple maintenance and troubleshooting knowledge are essential for your LED system to perform reliably for years. Understanding technological trends also helps us plan for the future.
Simple Routine Maintenance: Keeping Your Lights in Top Shape
Maintenance is simple but effective.
-
Regular Cleaning: Every month or two, after turning off the power and allowing lights to cool, gently wipe the lens and heatsinks with a dry or slightly damp microfiber cloth. Dust and grime can block and scatter light, reducing effective output. Never use corrosive cleaners or spray liquids directly.
-
Periodic Checks: Every quarter, quickly inspect power cords and plugs for wear, and check hanging ropes or chains for security. Good electrical safety habits are the foundation for long-term, worry-free growing.
Quick Diagnostics for Common Issues: Reading Your Plants’ “Distress Signals”
Plants communicate through their appearance. They give signals when the light environment is problematic.
-
Leaves Curling Upward, Tops Bleaching or Browning: This indicates light burn or light stress. The light is too intense or too close. The solution is to immediately raise the light or, if dimmable, reduce its power.
-
Spindly Stems, Long Internodes, Pale Green Leaves: This is a clear sign of insufficient light. The plant is “stretching,” trying to reach for more light. You need to increase light intensity (lower the light or get a stronger one) or extend the photoperiod.
-
Uneven Growth, One Side Struggling: This is usually caused by uneven light distribution. Revisit Step 3. Check if you need to add reflective material, adjust the light angle, or rotate pots more frequently.
Looking Ahead: Smart & Sustainable Growing
Technology is making growing simpler and greener.
-
Smart Control Systems: Today, there are Wi-Fi-enabled LED grow lights and sensors. They can automatically monitor environmental conditions and even adjust light intensity and spectrum ratios throughout the day based on preset programs (e.g., simulating dawn light, midday sun, evening light), enabling fully automated, extremely precise light environment management.
-
Green Energy Integration: For growers with the means, integrating LED systems with solar panels is an attractive direction. LED’s low power consumption makes it ideal for intermittent renewable energy sources like solar. This not only minimizes electricity costs but also creates a truly green, sustainable production cycle from energy to food, representing one future direction for home and community agriculture.
Final Thoughts
Optimizing light for your plants is far more than buying the most expensive light and turning it on. It’s a dynamic, systematic process. It begins with understanding the scientific relationship between light and plants, continues through precise light selection, installation, and adjustment, and deepens with the synergistic management of light, temperature, water, air, and nutrients.
We hope this guide helps you move past confusion and guesswork in indoor grow lighting. Remember, every fine adjustment you make to the light environment will be rewarded by your plants with more vigorous growth and abundant harvests. Now, start by observing the light in your grow space, put these practices into action, and enjoy the unique joy and satisfaction of nurturing life with technology and patience. Happy growing and bountiful harvests!
CATEGORIES
Recommended Post
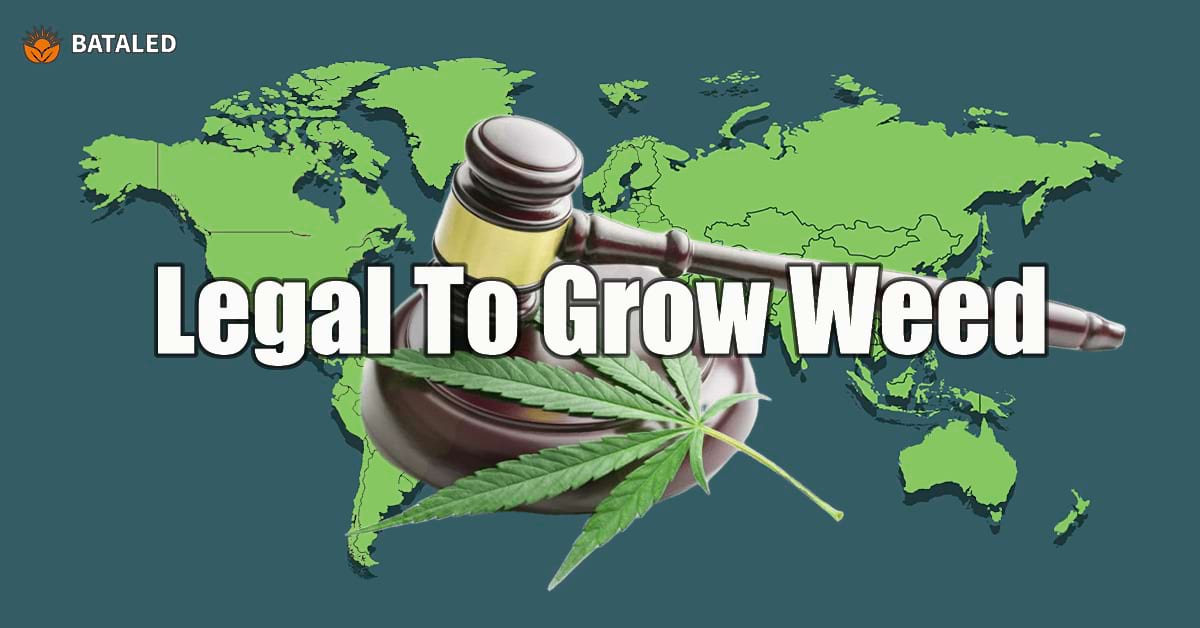
Where It’s Legal to Grow Cannabis: Ultimate Tips & Cultivation Laws
About Author—Jose Li
Jose, a senior content creator at BATA LED, brings over 5 years of expertise in LED grow light. He delivers valuable insights to help growers and farmers better understand LED grow light technology, empowering them to boost crop yields and quality with advanced lighting solutions.